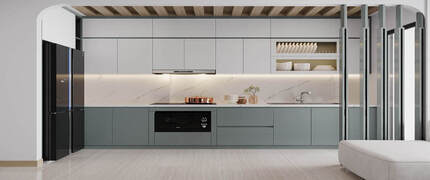
Maya Software: How to Create 3D Kitchen Designs

3d max vs blender: Positive and Negative sides- 2023
February 1, 2023
3D Product Visualization Software – Pros and Cons
February 28, 2023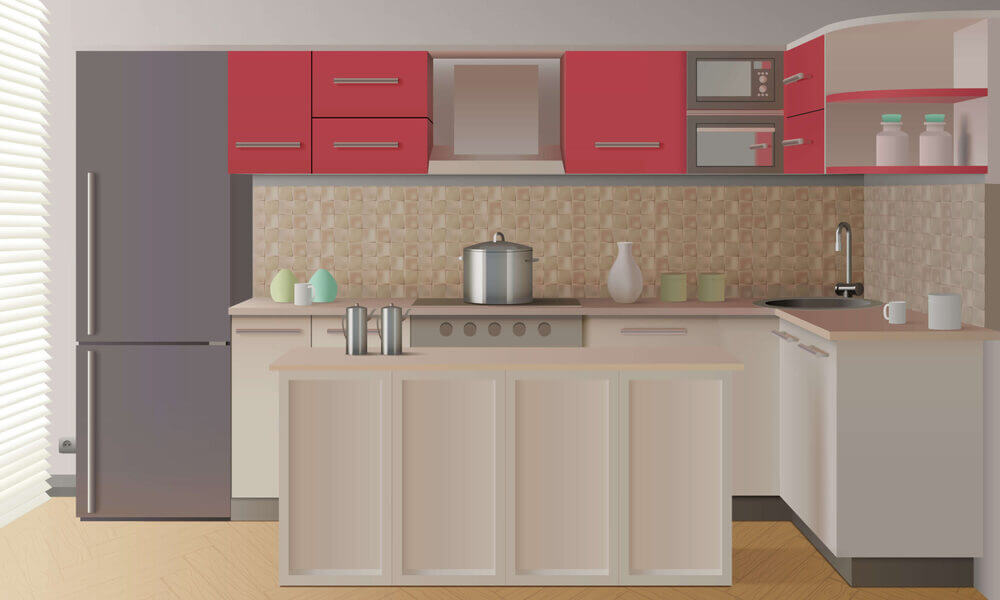
Maya Software: How to Create 3D Kitchen Designs
As the world is rapidly advancing in technology, we now have better and faster tools for creating 3D models. One of the most popular software for creating 3D designs is Maya. Maya is a powerful 3D modeling and animation software that is used by professionals in the gaming, film, and architecture industries. In this article, we will guide you through the process of creating 3D kitchen designs using Maya software.
Introduction:
Maya software is a popular choice for creating 3D models, including kitchen designs. In this article, we will provide you with a step-by-step guide to help you create 3D kitchen designs using Maya software. If you plan to make a virtual kitchen planner using Maya software, eazyoutsource is one of the 3D design companies that can do this perfectly.
Understanding Maya Software:
Maya software is an all-in-one tool for designing and animating in 3D. It makes it easy to make complex 3D models, animations, and simulations. It is used a lot in many fields, like architecture, engineering, and making movies, because it has powerful features that let you make designs that look real and are full of details. Maya has a wide variety of tools that can help you design a 3D kitchen that is both beautiful and useful.
Why- Maya Is best for design kitchen design
choice for designing kitchen spaces. Here are some reasons why Maya is best for designing kitchen designs:Highly accurate and detailed: Maya allows designers to create highly accurate and detailed 3D models of kitchen spaces, which is essential when it comes to designing a space that is functional and meets the homeowner's needs.
Flexible:
Maya is a flexible software that can be used to create a wide range of designs, from traditional to modern and everything in between. This makes it a great choice for homeowners who have a particular vision for their kitchen space.
Realistic rendering: One of the best things about Maya is the realistic rendering capabilities. Designers can create highly realistic models that accurately represent the materials, colors, and textures of the finished space. This allows homeowners to get a realistic idea of what their kitchen will look like before construction even begins.
Easy to make changes: Maya allows designers to make changes to the design quickly and easily. This is especially important when it comes to designing a kitchen space, as there are often changes that need to be made along the way.
Getting Started with Maya Software
Before you start designing, you will need to download and install Maya software.
Once installed, open the software and click on "Create a new scene."
Setting up the Scene
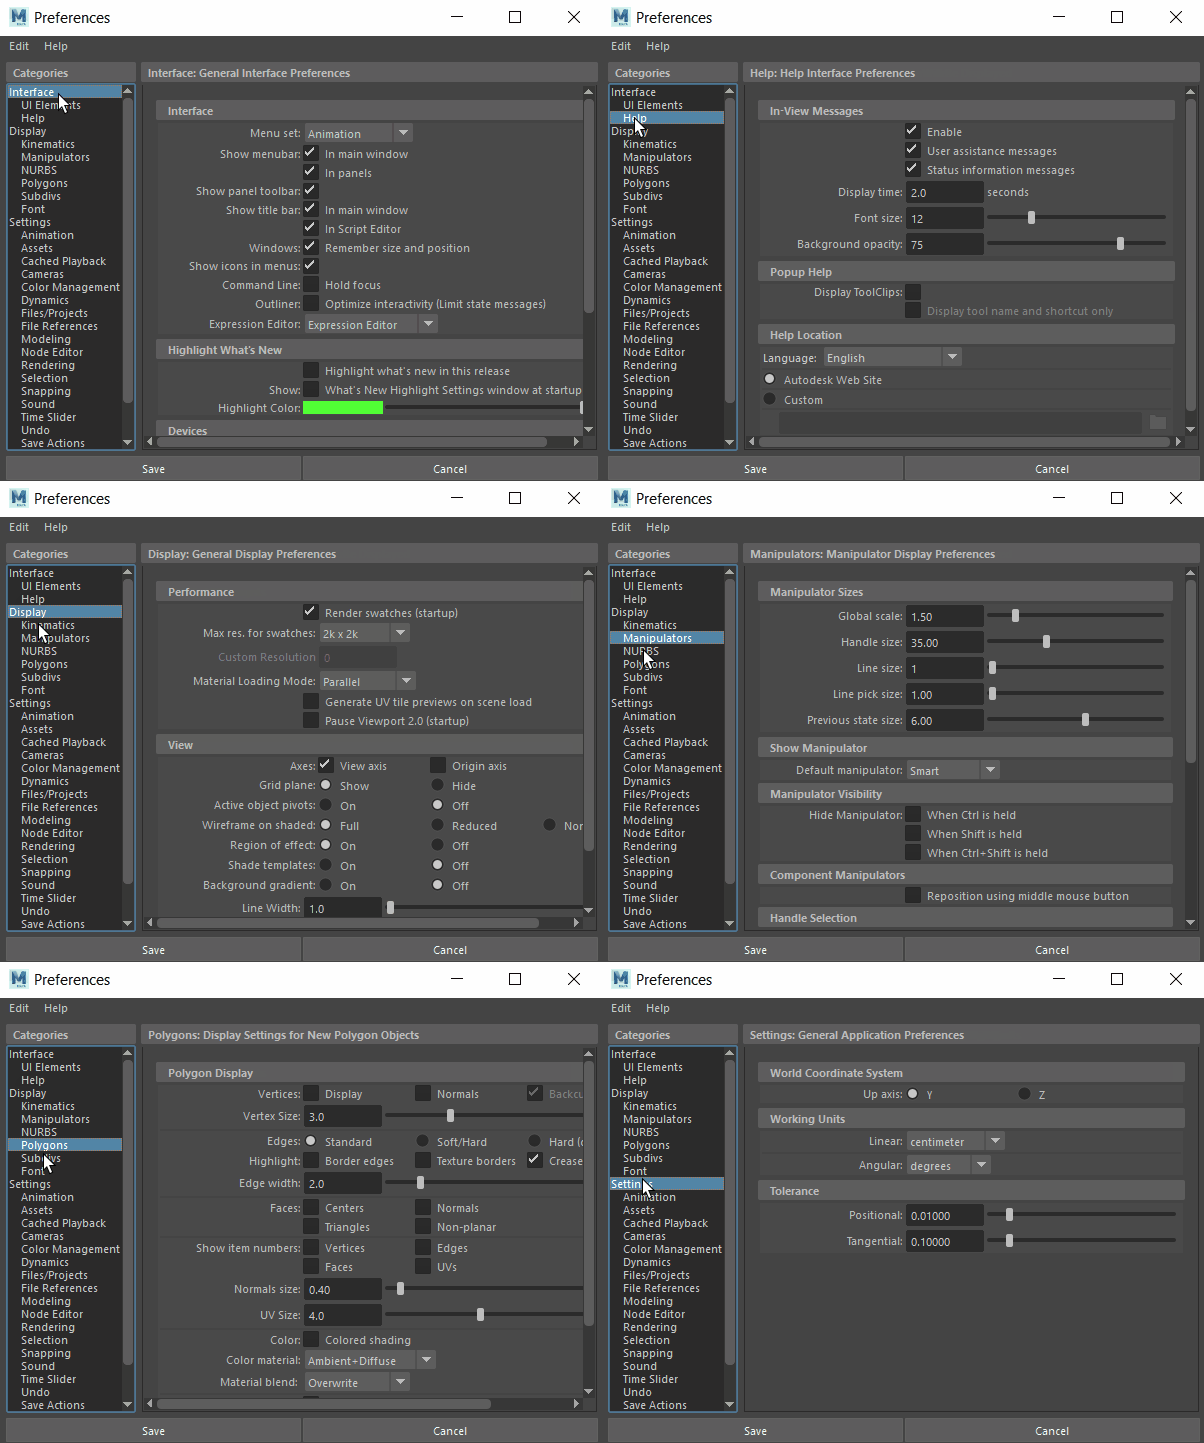
Image Source :Maya
When creating a 3D kitchen design, it is important to set up your scene properly. This includes setting the units, grid, and camera settings. To set up the units, click on "Windows" > "Settings/Preferences" > "Preferences" > "Settings." In the "Working Units" section, select "centimeters" as the linear unit. To set up the grid, click on "Display" > "Grid" and adjust the grid settings to your liking. Finally, adjust the camera settings to your preference.
Modeling the Kitchen
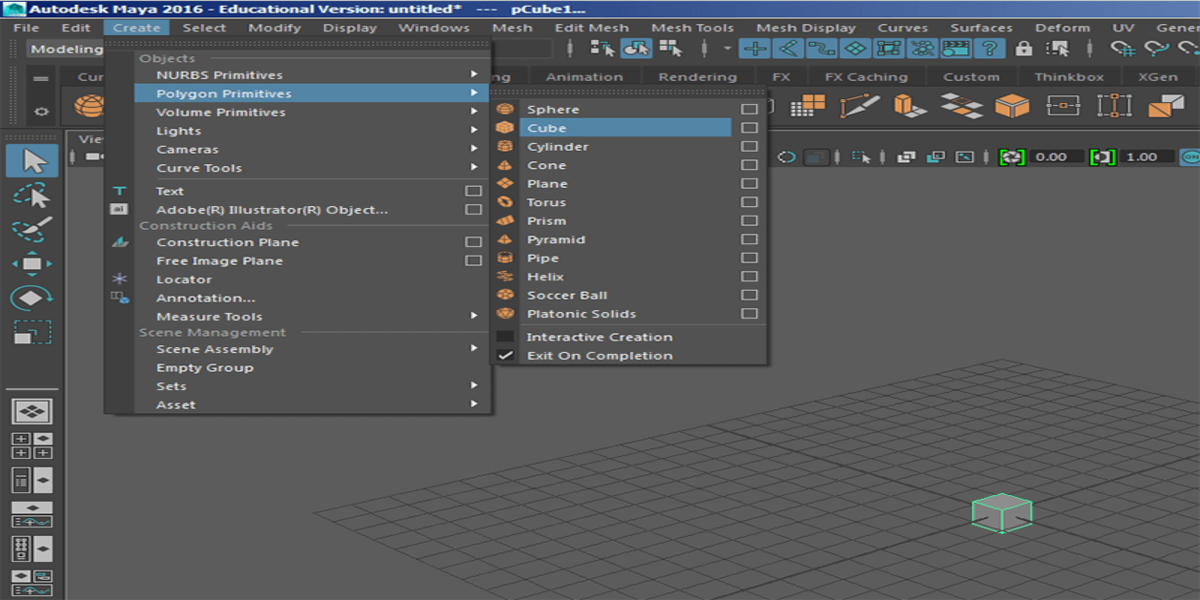
To model the kitchen, you will need to create the walls, floor, and ceiling. This can be done using the "Create > Polygon Primitives" menu. To create a wall, select "Create > Polygon Primitives > Cube" and adjust the size and position to match the kitchen dimensions. Repeat this process for the floor and ceiling.
Adding Cabinets and Appliances
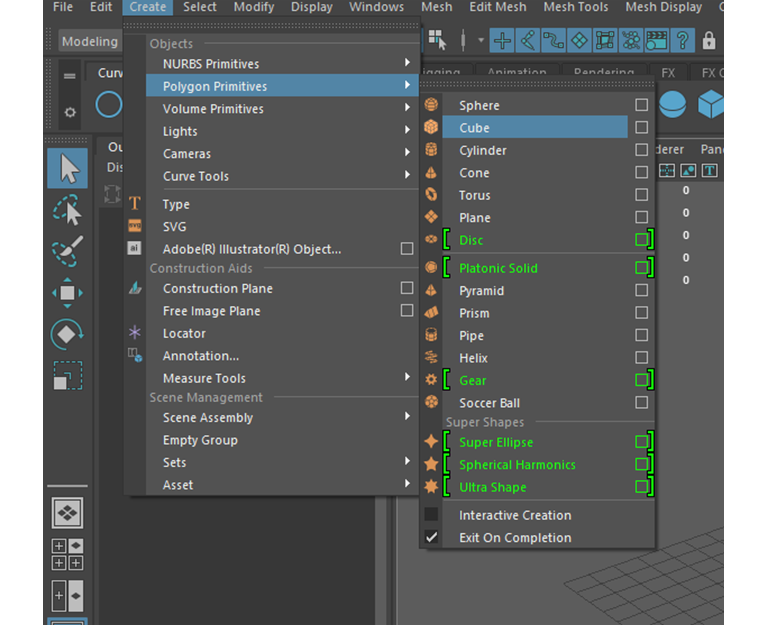
Once you have the basic structure of the kitchen, it is time to add the cabinets and appliances. This can be done using the "Create" > "Polygon Primitives" menu. To make a cabinet, go to "Create > Polygon Primitives > Cube," and then change the size and position of the cube to make it fit the size and shape of the cabinet you want to make. Repeat this process for each cabinet and appliance.
Adding Texture and Materials
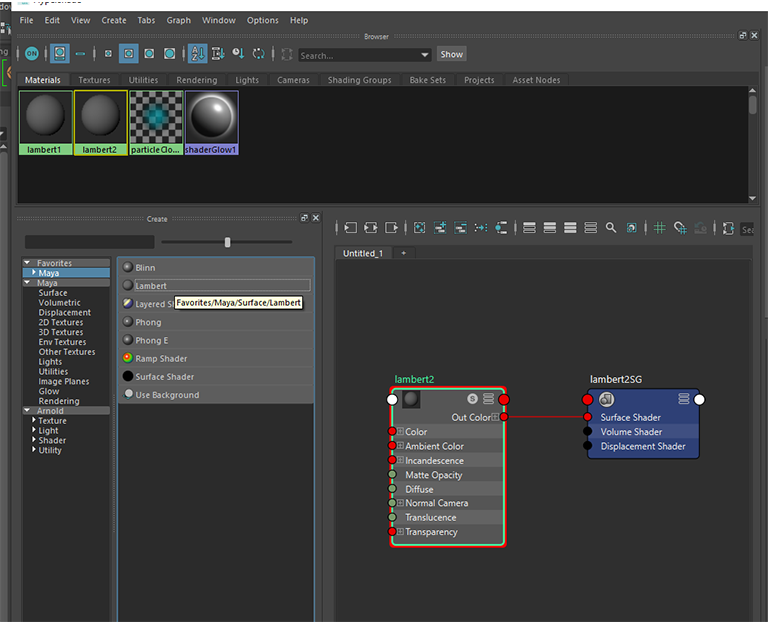
To make your 3D kitchen design look more realistic, you will need to add texture and materials to your model. This can be done using the "Create" > "Shader" menu. To add a texture to a cabinet, select the cabinet and then click on "Create" > "Shader" > "Lambert." In the Attribute Editor, select the "Color" tab and click on the checker box to add a texture file.
Read More: 3D max vs Blender: Positive and Negative sides, 2023
Lighting the Scene
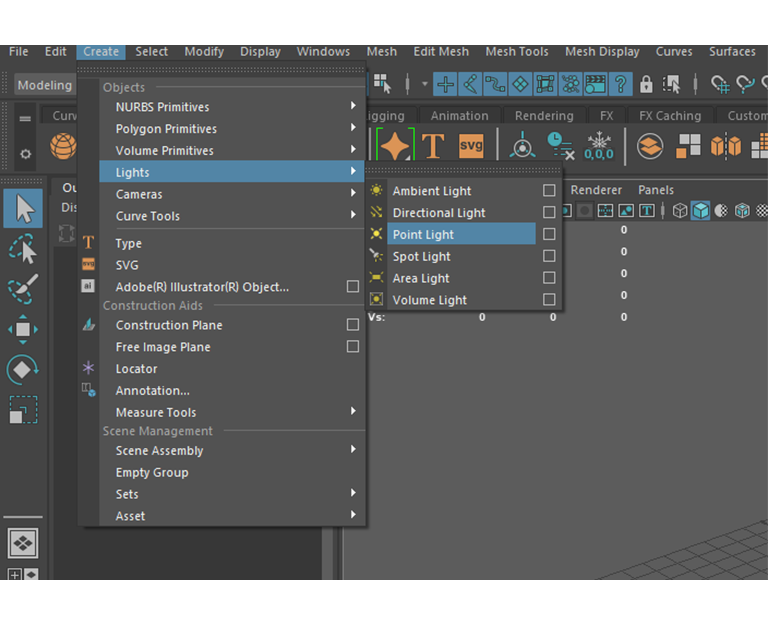
To make your 3D kitchen design look more realistic, you will need to add lights to your scene. This can be done using the "Create" > "Lights" menu. To add a light, select "Create > Lights > Point Light" and adjust the position and settings to your preference.
Rendering the Scene
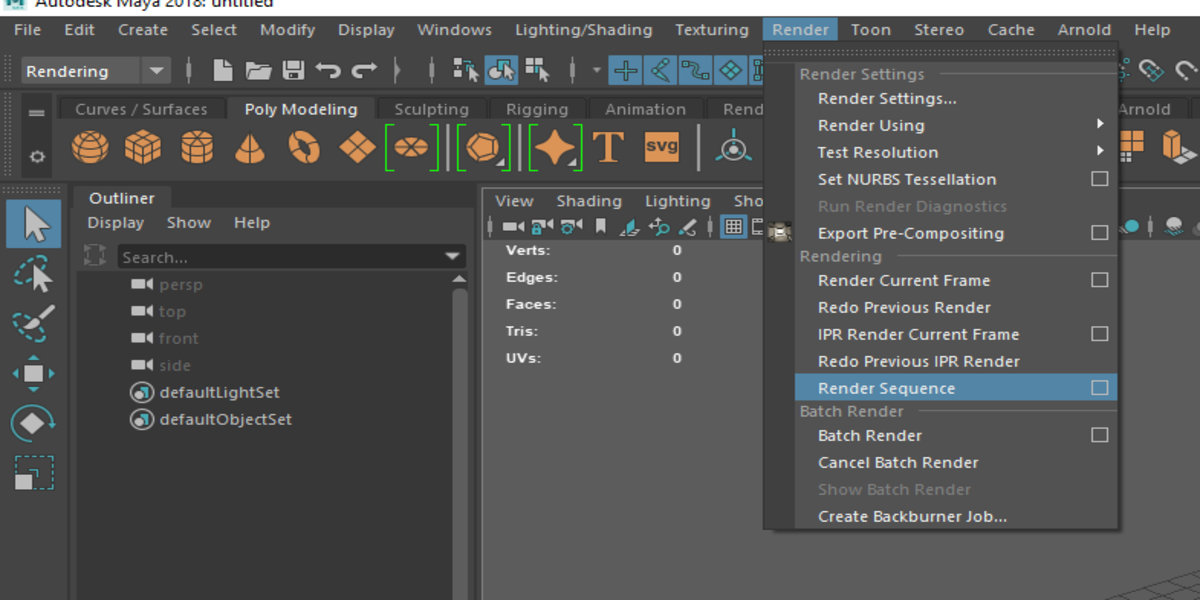
Once you have completed the 3D kitchen design, it is time to render the scene. This can be done using the "Render" > "Render Sequence" menu. Adjust the render settings to your preference, and then click on "Render" to start the rendering process.
Benefits of using Maya software for 3D kitchen design
- Accurate Measurement
- Realistic Design
- Customizable design
- Easy to make change
At the End-
Maya software is a powerful tool for creating 3D kitchen designs. By following these steps, designers can create highly accurate and detailed models that allow homeowners to see exactly what their new kitchen will look like. With a 3D model, it's easier to make design decisions and avoid costly mistakes during the construction process.If you want more help from us, check out our 3D kitchen design service for one-on-one time with a kitchen expert.
FAQ's
1Is Maya software easy to learn?
Maya software has a steep learning curve, but with practice and patience, it can be learned.
2Can I create 3D kitchen designs using other software?
Yes, there are many other 3D modeling and animation software available, such as Blender,
Our 3D Services:
1. 3D Modeling
2. 3D Rendering
3. 3D Visualization
4. AR-Model
1. 3D Modeling
2. 3D Rendering
3. 3D Visualization
4. AR-Model
February 20, 2023 | 10 MIN READ

