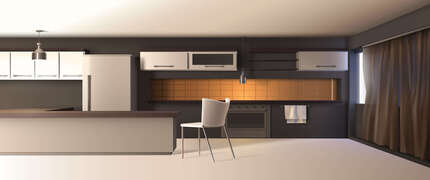
Create a Stunning 3D Kitchen Backsplash with Affordable DIY Ideas

How to Modify Blender Frame Rate for Playback and Rendering
March 1, 2023
3 Easy Ways To Make 3dsmax Interactive Faster
March 3, 2023What is 3D Backsplash?
3D Backsplash has a significant function in locations where it is implemented. It produces an aesthetic impression and has an immediate impact on the spirit of the area. Due to its dynamic structure, positive outcomes are achieved with light motions from various angles. In addition to adding pattern and color, it also gives texture to the area where it is applied. If you want to experiment with something new for your kitchen walls, check out these creative 3D backsplash ideas for inspiration!
It is available in a variety of forms and materials, including metal, marble, glass, mirror, and ceramic tiles, each material kind has a distinct effect. For example, if you want to make a 3d backsplash, you can use bright colors and unique textures and also make modern and unusual spaces by combining plain backsplashes. Using different patterns on a plain, straight wall can make the space more interesting. A 3D backsplash can enhance the look of any kitchen, and with the right design and installation, it can become the focal point of the room.
3D Kitchen Backsplash
A 3D kitchen backsplash is a type of kitchen wall covering that has a three-dimensional design or texture. It is installed behind the stove, sink, or countertop to protect the wall from water, oil, and food splatters while adding an aesthetic touch to the kitchen. There are several types of 3D backsplash materials available, including ceramic tiles, glass tiles, metal tiles, and natural stone tiles. Some popular 3D designs include geometric shapes, waves, bubbles, and floral patterns. When choosing a 3D kitchen backsplash, it is essential to consider the overall kitchen design, color scheme, and personal preferences. It's also important to select a material that is easy to clean and maintain.
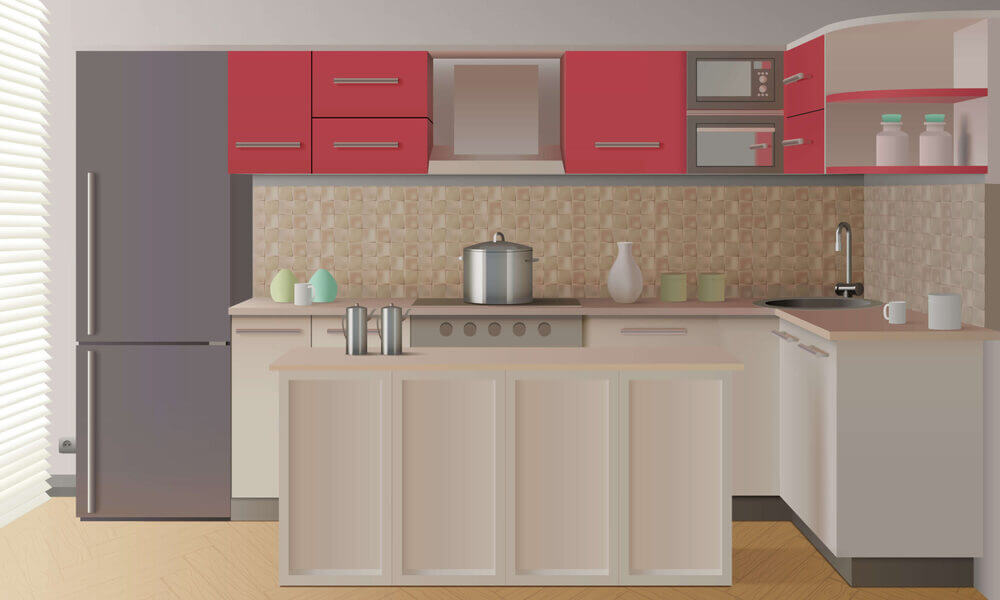
3D Kitchen Backsplash: Affordable DIY Ideas
A kitchen backsplash can be a great way to add personality and style to your kitchen while also protecting the walls from spills and stains. If you're on a budget and looking for affordable DIY ideas for a 3D kitchen backsplash, here are some options:
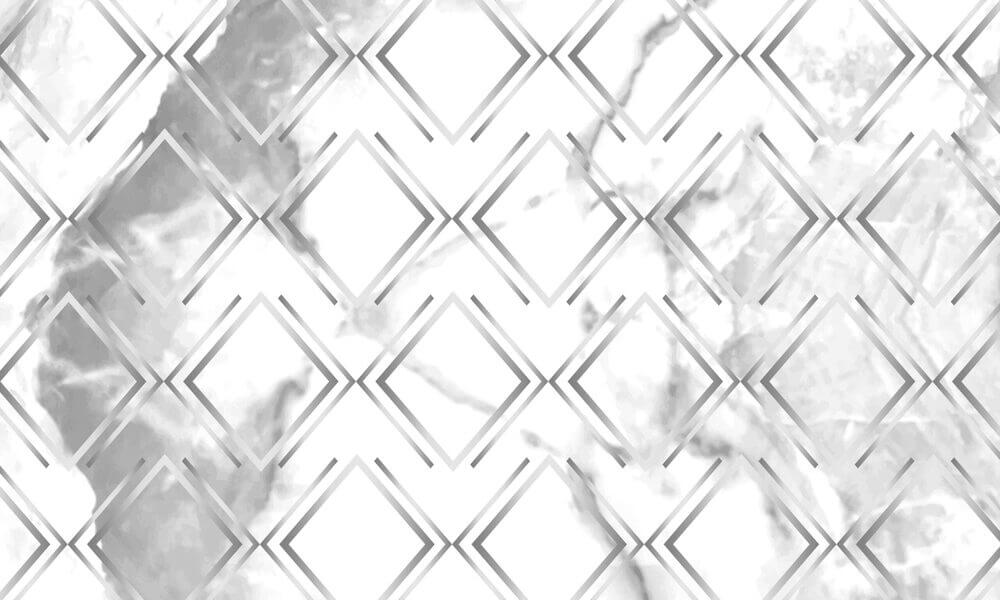
Peel-and-stick backsplash tiles:
Peel and stick backsplash are used to easy and inexpensive to use on kitchen walls. These are easy to install and come in a variety of designs, including 3D options. You can design affordable kitchen options in online improvement website..
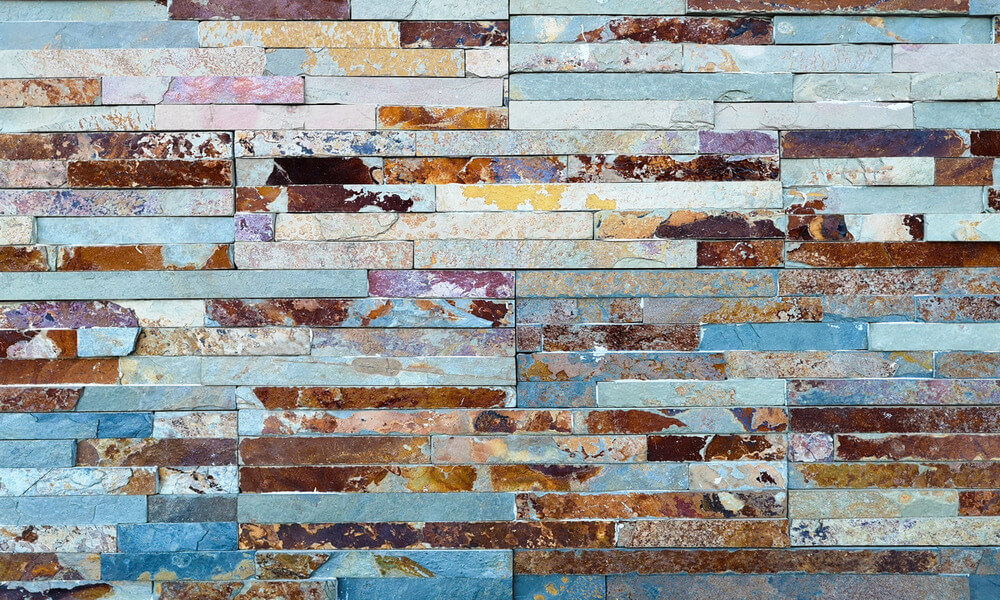
Painted backsplash:
If you want to design your kitchen and bathroom, painted backsplash is a great choice. Because we can easily update the floor and wall. If you're handy with a paintbrush, you can create a 3D effect by painting a geometric pattern or textured design on your backsplash. Use stencils or freehand your design for a unique look.
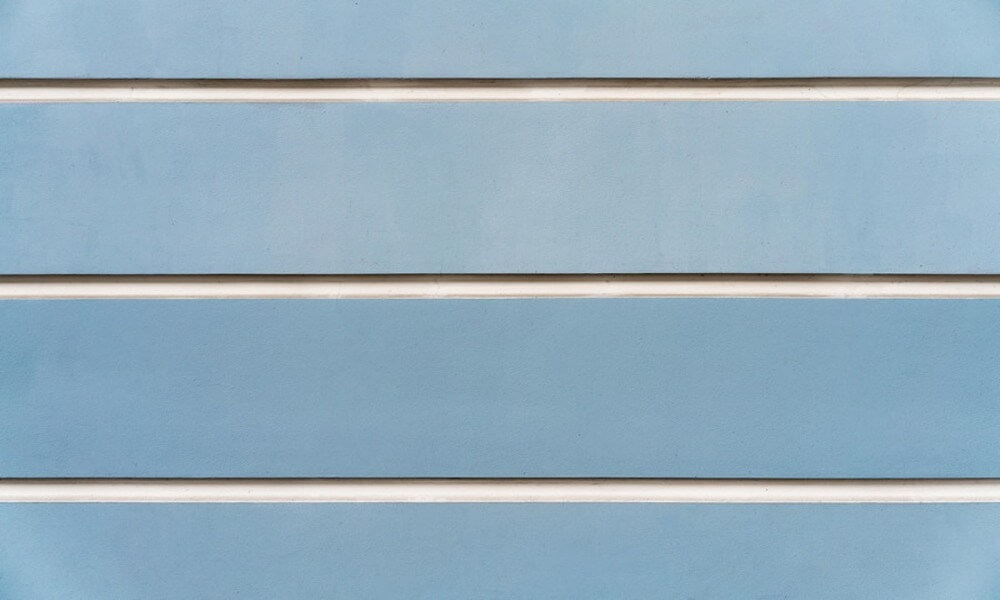
Beadboard backsplash:
Beadboard is an affordable material that can be cut and installed to create a 3D effect. You can leave it as is or paint it to match the rest of your kitchen.
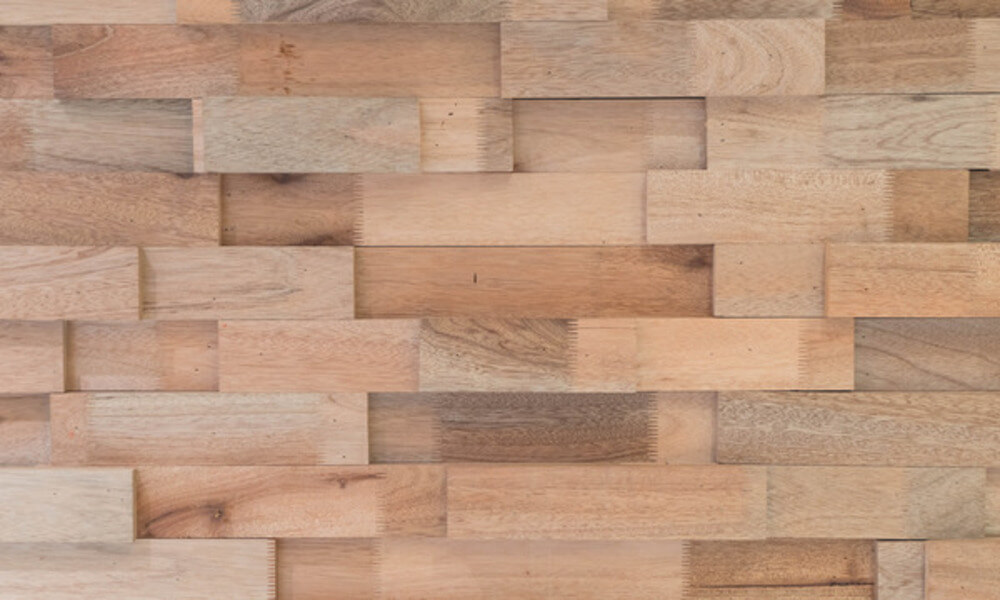
Wooden backsplash:
You can use reclaimed wood or new wood planks to create a 3D backsplash. Stagger the planks or create a herringbone pattern for a unique look.
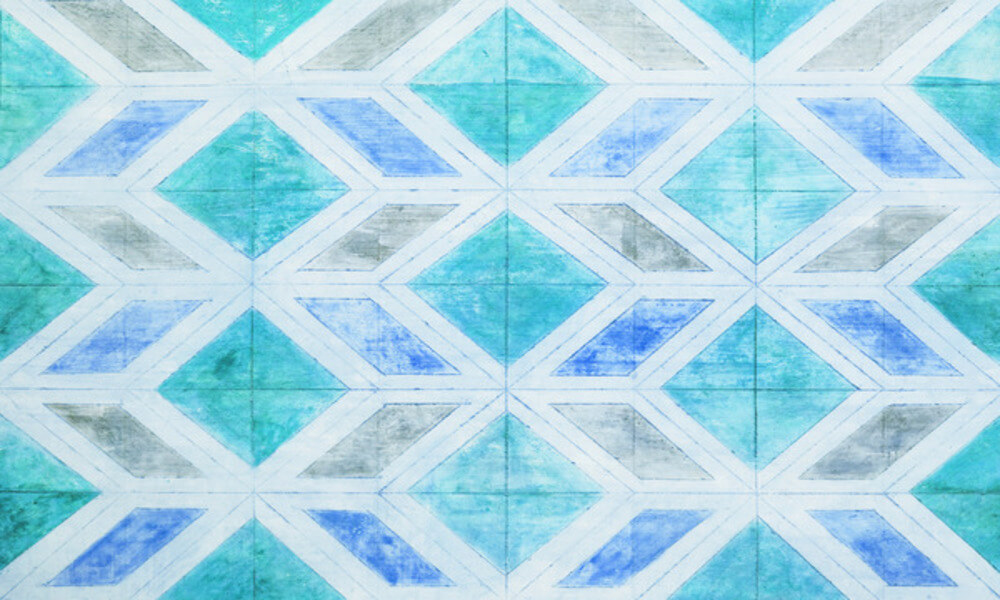
Mosaic tile backsplash:
If you're up for a bit more of a challenge, you can create a mosaic tile backsplash using affordable tiles in various shapes and sizes. You can create a 3D effect by varying the depth of the tiles.
How Do You Put A Beaded Backsplash On A Wall?
Attaching beadboard backsplash to a wall is a simple process that requires only basic tools and materials. Here are the general steps to follow:Materials:
- Beadboard panels
- Measuring tape
- Pencil
- Level
- Construction adhesive
- Brad nailer or finishing nails
- Saw (if panels need to be cut to size)
- Caulk and caulk gun
Steps:
- Measure the wall to determine the amount of beadboard panels needed. Be sure to account for any outlets, switches, or other obstructions that may require cutting the panels to size.
- Cut the beadboard panels to the appropriate size if needed. Make sure to leave a small gap (about 1/8 inch) between the panels and any adjacent walls or countertops to allow for expansion.
- Apply construction adhesive to the back of the first panel, using a notched trowel to spread it evenly.
- Press the panel firmly into place on the wall, using a level to ensure that it is straight.
- Secure the panel in place with a brad nailed or finishing nails, making sure to nail into the studs behind the wall. If a nail gun is not available, use finishing nails and a hammer.
- Repeat the process for each subsequent panel, ensuring that they are level and properly aligned with adjacent panels.
- Once all the panels are installed, fill any gaps or seams with caulk, smoothing it with a caulk smoothing tool or your finger.
- Allow the adhesive and caulk to dry completely before using the backsplash.
Popular Colors for Abstract 3D Kitchen Backsplash Design
Neutral shades:Gray, beige, and taupe can create a modern and sophisticated look. They can also serve as a versatile backdrop for other design elements in the kitchen.
Bold and bright:
Bright colors like orange, yellow, and red can add a pop of color to the kitchen and create a cheerful and energetic ambiance. These colors can be used sparingly as accents or combined for a more vibrant appearance.
Metallic tones:
Incorporating metallic finishes such as silver, gold, or copper can add a touch of luxury and elegance to the kitchen. They can also reflect light and add depth to the backsplash.
How to Create a Stunning 3D Kitchen Backsplash design using blender software
Blender is a powerful and free 3D modeling software that can be used to create a stunning 3D kitchen backsplash design. Here are the general steps to follow:
Plan your design:
Start by sketching your design on paper, or creating a digital design using a software like SketchUp. This will help you have a clear idea of what you want to achieve.
Gather your resources:
Collect reference images, textures, and any other resources you might need for your design. You can find many free resources online, or create your own textures and images.
Set up your workspace: Open Blender and set up your workspace. This can include adding reference images and setting up your camera. Create the basic shape:
Use the modeling tools in Blender to create the basic shape of your backsplash. You can use a combination of cubes, cylinders, and other shapes to create the overall form.
Add details:
Once you have the basic shape, add details such as tiles, grout, and any other elements you want to include. Use textures and materials to give your design a realistic look.
Lighting:
Set up lighting in your scene to showcase your design. Experiment with different lighting setups until you find the one that works best for your design.
Render your design:
When you are satisfied with your design, render it in Blender. This will create a high-quality image that you can use to showcase your work.
Post-processing: Finally, use image editing software like Photoshop or GIMP to do some post-processing on your image. This can include color correction, adding filters, and any other tweaks you want to make.
So, what do you think of these low-cost 3D kitchen backsplash ideas?
Do any of these inspire you to try your hand at 3D design?
Please let me know if you try one!
Leave your response in the comments.
Do any of these inspire you to try your hand at 3D design?
Please let me know if you try one!
Leave your response in the comments.
MARCH 2, 2023 | 20 MIN READ

